
If you’ve ever tried to find gluten-free chicken tenders that actually deliver on crunch and flavor, you know the struggle is real. Our boys have always been picky eaters, especially when it came to anything gluten-free that felt soggy or bland. When we first started this gluten-free journey, finding a recipe that gave us that golden, crispy coating without the gluten was a total game changer. These chicken tenders are exactly that — crunchy on the outside, juicy on the inside, and made with ingredients we trust.
Here’s the thing: for families managing celiac disease or gluten sensitivity, it’s not just about taste. Cross-contamination is a real risk when breading chicken, so using certified gluten-free flours and keeping prep areas clean matters. That’s why I always double-check ingredients with the /is-it-gluten-free/ checker to keep our kitchen safe and sane.
This recipe is perfect for snacks, quick dinners, or even packed lunches. Plus, it uses common gluten-free brands like Bob’s Red Mill and King Arthur, so you know you’re getting quality. Trust me on this one — these chicken tenders make weeknight meals feel like a treat, and the kids can’t get enough.
❤️ Why You’ll Love This Recipe
- Super crispy gluten-free coating that stays crunchy
- Juicy, tender chicken every single time
- Uses trusted gluten-free flours and ingredients
- Quick and easy prep for busy families
- Perfect for kids’ snacks or family dinners
Ingredients & What You Need to Know
The key to these chicken tenders lies in the flour blend and coating. We use Bob’s Red Mill 1-to-1 Gluten-Free Flour because it delivers a light, crispy crust without the gritty texture some blends can leave behind. King Arthur Gluten-Free Flour is another great option if you want a slightly different texture — both are reliable and easy to find.
For the breading, I like to combine the flour with gluten-free panko breadcrumbs from brands like Ian’s or Aleia’s, which give that extra crunch our boys love. Seasoning the flour mix well with salt, pepper, and a touch of paprika or garlic powder makes all the difference, especially since gluten-free coatings can sometimes taste a bit bland.
A quick dip in buttermilk or a simple egg wash helps the coating stick perfectly. If you’re dairy-free, you can swap the buttermilk for a tangy almond milk and vinegar mix, which works beautifully too.
🔄 Substitutions & Swaps
- Dairy-free: Replace buttermilk with almond milk plus 1 tbsp vinegar, and use coconut oil or vegan butter for frying
- Baking option: Bake tenders at 425°F for 20 minutes, flipping halfway for a lighter meal
- Gluten-free flour: Swap Bob’s Red Mill 1-to-1 with King Arthur Gluten-Free Flour or Cup4Cup for different textures
- Low sodium: Reduce added salt in the flour mix and use low-sodium broth if making a dipping sauce
- Air fryer: Cook tenders in an air fryer at 400°F for 10-12 minutes, shaking halfway through
Gluten-free breading can be tricky — it’s not just about swapping flours but understanding how they behave. Gluten-free flours like Bob’s Red Mill 1-to-1 have a blend of rice flour, potato starch, and xanthan gum which mimic gluten’s elasticity just enough to keep the coating intact without falling off. That matters when you’re frying chicken because you want that crunch to stay put.
One common mistake is overcrowding the pan during frying. When the oil temperature drops too much, the coating soaks up oil instead of crisping up. Trust me, it’s worth frying in batches to keep the oil hot and your tenders crispy. Another tip: letting the tenders rest on a wire rack after frying helps avoid steam making them soggy.
Serving suggestions? These tenders go great with classic dipping sauces, but our family loves pairing them with a fresh side salad or roasted veggies for an easy weeknight dinner. When our boys are extra hungry, we pile on some mashed potatoes or gluten-free mac and cheese. Gluten-free doesn’t have to mean boring — it can be crunchy, flavorful, and totally kid-approved.
How to Make Gluten-Free Chicken Tenders
💡 Pro Tips Before You Start
- Pat chicken dry before coating to help the flour stick better
- Don’t skip the egg and buttermilk dip — it’s key for a crispy crust
- Use fresh gluten-free breadcrumbs for maximum crunch
- Fry in batches so the oil temperature stays consistent
- Let tenders rest on a wire rack instead of paper towels to avoid sogginess
🗄️ Storage & Make-Ahead
- Room Temperature: Keep chicken tenders at room temperature no longer than 2 hours, ideally served fresh for best crunch.
- Refrigerator: Store cooled tenders in an airtight container in the fridge for up to 3 days.
- Freezer: Freeze cooked tenders in a single layer on a baking sheet, then transfer to a freezer-safe bag for up to 2 months. Thaw overnight in the fridge.
- Reheating: Reheat in a 375°F oven or air fryer for 8-10 minutes to restore crispiness. Avoid microwaving to prevent sogginess.
-
2 cups gluten-free all-purpose flour (we use Bob’s Red Mill 1-to-1) -
1 cup gluten-free panko breadcrumbs (Ian’s or Aleia’s) -
1 tsp paprika -
1 tsp garlic powder -
1 tsp onion powder -
1 tsp salt -
1/2 tsp black pepper -
2 large eggs -
1/2 cup buttermilk -
1.5 lbs chicken tenders or chicken breast cut into strips -
2 tbsp olive oil or avocado oil for frying
-
1Preheat and Prep
Heat olive oil in a large skillet over medium heat. Prepare your dredging stations: in one bowl, whisk together eggs and buttermilk; in another, combine gluten-free flour, paprika, garlic powder, onion powder, salt, and pepper; and in a third bowl, place the gluten-free panko breadcrumbs. -
2Coat the Chicken
Dip each chicken tender first into the flour mixture, shaking off excess. Then dunk into the egg mixture, and finally coat evenly with the breadcrumbs. Press the breadcrumbs gently so they stick well. -
3Fry the Tenders
Place coated chicken tenders gently in the hot oil. Fry for about 4-5 minutes per side, turning once, until the crust is golden and the chicken is cooked through (internal temperature should reach 165°F). Avoid crowding the pan. -
4Drain and Rest
Transfer cooked tenders onto a paper towel-lined plate to drain excess oil. Let them rest a few minutes so the crust sets and stays crunchy. -
5Serve
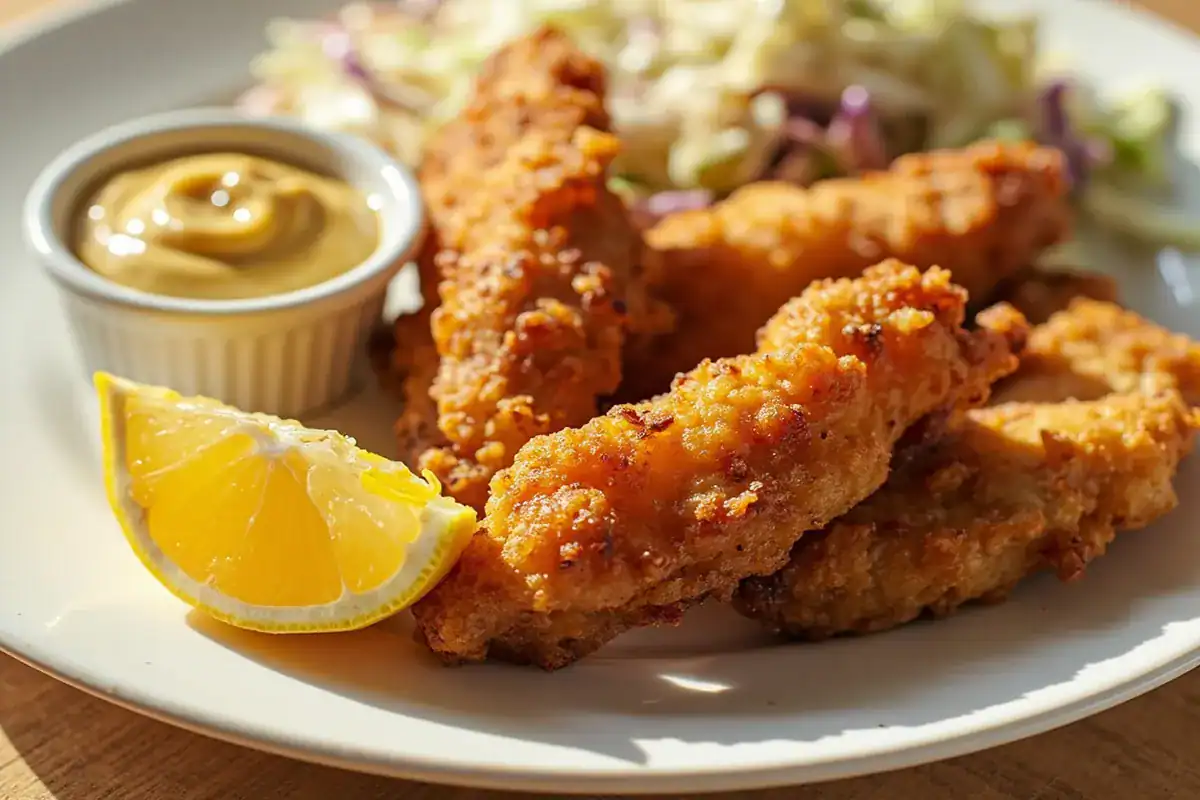
Serve warm with your family’s favorite dipping sauces — honey mustard, ranch, or a simple ketchup always work. Enjoy!
Calories
Protein
Carbs
Fat
Fiber
Sugar
Sodium
Nutrition is estimated using a food database. Values may vary based on the specific brands and ingredients you use.
Frequently Asked Questions
Is Gluten-Free Chicken Tenders really gluten-free?
Yes! This recipe uses certified gluten-free flours and breadcrumbs, and if you’re careful about cross-contamination, these tenders are safe for celiacs and gluten-sensitive folks.
Can I make Gluten-Free Chicken Tenders dairy-free?
Absolutely. Swap the buttermilk for almond milk plus a splash of vinegar, and use coconut oil or vegan butter instead of regular butter or dairy-based oils.
Why did my chicken tenders turn out soggy?
Soggy tenders usually mean the oil wasn’t hot enough or the pan was overcrowded. Fry in small batches and keep the oil around 350°F to 375°F for the best crunch.
Can I freeze Gluten-Free Chicken Tenders?
Yes, you can freeze cooked tenders for up to 2 months. Freeze them in a single layer first, then store in a freezer bag. Thaw in the fridge overnight before reheating.
What gluten-free flour works best for chicken tenders?
Bob’s Red Mill 1-to-1 Gluten-Free Flour is our top pick for a light, crispy crust. King Arthur Gluten-Free Flour and Cup4Cup are also excellent choices depending on your texture preference.
Making gluten-free chicken tenders that actually taste amazing was a big win for our family. Our boys can’t get enough, and honestly, neither can we. If you’re juggling gluten-free needs and picky eaters, this recipe’s a keeper. I hope it brings a little crunch and comfort to your table too.
Don’t forget to check out more recipes on LetsGoGlutenFree.com and use our handy /is-it-gluten-free/ checker to keep your kitchen safe and delicious. Happy cooking from our family to yours!
We’d love to hear how it turned out! Leave a comment and a star rating below — your feedback helps other readers and means the world to us.
Rate This Recipe
Did you make this? We'd love to hear how it turned out!