
When we first started baking gluten-free treats for our boys, I was surprised by how simple some recipes could be — especially ones that don’t require a lot of fuss or fancy ingredients. These 3-Ingredient Gluten-Free Peanut Butter Cookies quickly became a staple in our family kitchen. No flour needed, no complicated steps, just a handful of pantry basics coming together in a way that’s naturally gluten-free and utterly satisfying. If you’ve ever felt overwhelmed by gluten-free baking or worried about cross-contamination, this recipe is a game-changer. It’s straightforward, safe, and perfect for celiacs or anyone avoiding gluten. Our boys love that they can help mix — and honestly, so do I. The best part? You can check any ingredient through our /is-it-gluten-free/ checker to make sure everything suits your family’s needs. That peace of mind means everything when you’re juggling food allergies or sensitivities. Plus, these cookies are soft, chewy, and just the right amount of peanut buttery goodness. They’re a sweet treat that feels like a hug in cookie form. Trust me, once you try them, they’ll be a go-to whenever you need a quick homemade dessert that everyone can enjoy.
❤️ Why You’ll Love This Recipe
- Only 3 simple ingredients—minimal prep, max flavor
- No gluten, no flour—perfect for celiacs and gluten-sensitive folks
- Soft, chewy texture that melts in your mouth
- Kid-friendly and easy enough for little helpers
- Uses pantry staples you probably already have
Ingredients & What You Need to Know
Peanut butter is the star here—choose a natural, smooth or chunky variety that’s labeled gluten-free to keep things safe. For best texture, I recommend a creamy peanut butter like Skippy Natural or Smucker’s Natural, but if you love crunch, chunkier types work great too. Instead of traditional flour, this recipe relies on the peanut butter itself, so no gluten worries there! However, if you want to add a bit of fluff or try variations, Bob’s Red Mill 1-to-1 gluten-free flour is my go-to for baking reliability. King Arthur Gluten-Free and Cup4Cup also offer blends that work well when you want to experiment with other recipes. Finally, the sugar gives just the right sweetness without overpowering the peanut flavor—either granulated or coconut sugar works. These ingredients come together without cross-contamination risks as long as you keep your kitchen tools and surfaces clean, which is crucial for celiac families.
🔄 Substitutions & Swaps
- Dairy-free: Replace butter (if using in variations) with coconut oil or vegan butter
- Sugar-free: Use a granulated erythritol or monk fruit sweetener instead of sugar
- Nut-free: Swap peanut butter for sunflower seed butter for a nut allergy-friendly option
- Egg-free: Use a flax egg (1 tbsp ground flaxseed + 3 tbsp water) to make it vegan
- Vanilla-free: Omit vanilla extract if you don’t have any; cookies will still be tasty
Here’s the thing: gluten-free baking can feel intimidating at first, but recipes like this one remind us it doesn’t have to be complicated. Because these cookies don’t rely on flour, they sidestep some common gluten-free baking pitfalls like grainy texture or dryness. The peanut butter provides both structure and moisture, making these cookies chewy with a tender crumb. One common mistake I see is baking them too long. They’ll look a bit underdone when you pull them out, but that’s exactly right—overbaking dries them out fast. Another tip? Don’t skip the fork press! That classic crisscross not only looks cute but also helps the cookies bake evenly. These cookies are great on their own, but if you want to dress them up, a sprinkle of sea salt or a drizzle of melted chocolate works wonders. For our family, they’re a quick after-school snack or a comforting treat to share with friends. They pair perfectly with cold milk or a cup of tea. So what does this actually mean for you? Simple, reliable gluten-free baking that fits into real life. And that’s worth every bite.
How to Make Gluten-Free Peanut Butter Cookies
💡 Pro Tips Before You Start
- Use a cookie scoop for evenly sized cookies that bake uniformly
- Don’t overbake—cookies should be soft when you take them out, they’ll firm up as they cool
- If peanut butter is oily, stir it well before measuring to keep texture consistent
- Line baking sheets with parchment paper to prevent sticking and ease cleanup
- Double-check all ingredients with a gluten-free label or use our /is-it-gluten-free/ checker
🗄️ Storage & Make-Ahead
- Room Temperature: Store cookies in an airtight container at room temperature for up to 3 days. Keep them out of direct sunlight and away from heat to maintain softness.
- Refrigerator: Refrigerate in an airtight container for up to one week. Refrigeration can make cookies a bit firmer, so bring to room temp before eating if you prefer them soft.
- Freezer: Freeze cookies in a sealed container or freezer bag for up to 3 months. Separate layers with parchment paper to prevent sticking. Thaw at room temperature before serving.
- Reheating: Warm cookies in a microwave for 10-15 seconds or in a 300°F oven for 3-5 minutes to soften and refresh.
-
1 cup natural peanut butter (smooth or chunky, gluten-free) -
1 cup granulated sugar or coconut sugar -
1 large egg -
1 tsp vanilla extract (optional but recommended) -
1/2 tsp baking soda -
Pinch salt (if peanut butter is unsalted)
-
1Preheat and Prep
Preheat your oven to 350°F (175°C). Line a baking sheet with parchment paper or a silicone baking mat to prevent sticking and avoid cross-contamination. -
2Mix Wet Ingredients
In a medium bowl, combine the peanut butter, sugar, egg, and vanilla extract if using. Stir until smooth and fully combined. -
3Add Dry Ingredients
Add the baking soda and salt (if needed). Mix well to distribute evenly throughout the dough. -
4Form the Cookies
Using a tablespoon or cookie scoop, drop dough onto the prepared baking sheet about 2 inches apart. Gently flatten each cookie with a fork in a crisscross pattern. -
5Bake
Bake in the preheated oven for 8-10 minutes, or until the edges are lightly golden but the centers remain soft. -
6Cool
Let the cookies cool on the baking sheet for 5 minutes before transferring them to a wire rack to cool completely. This helps them set without breaking apart. -
7Enjoy!
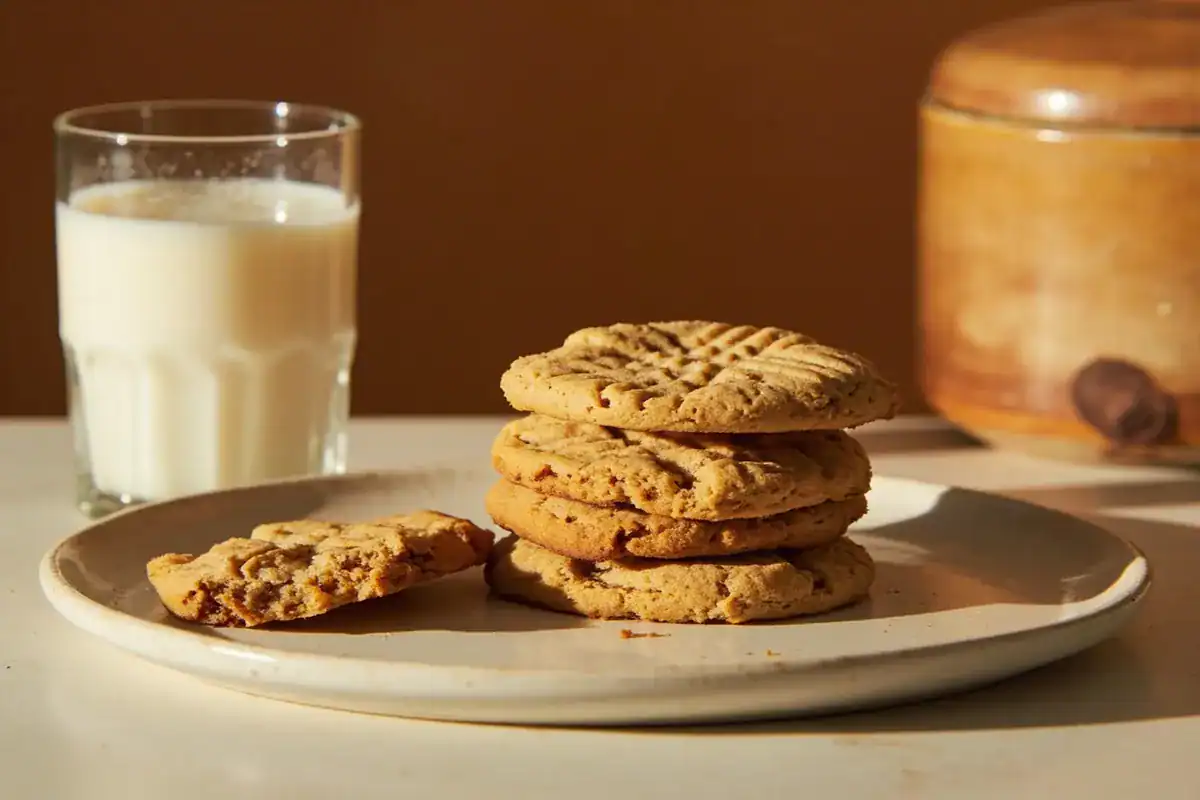
Serve once fully cooled, or store as instructed below. These cookies taste great with a glass of milk or your favorite dairy-free alternative.
Calories
Protein
Carbs
Fat
Fiber
Sugar
Sodium
Nutrition is estimated using a food database. Values may vary based on the specific brands and ingredients you use.
Frequently Asked Questions
Is this recipe gluten-free?
Yes, these peanut butter cookies are naturally gluten-free since they contain no wheat flour. Just be sure to use gluten-free labeled peanut butter and sugar to avoid cross-contamination.
Can I make this recipe dairy-free?
Absolutely! This recipe is naturally dairy-free if you stick to the basic ingredients. If you choose to add butter in variations, swap it for coconut oil or vegan butter to keep it dairy-free.
Why did my cookies turn out dry or crumbly?
Dry or crumbly cookies usually mean they were overbaked or the peanut butter was too dry. Try checking cookies a minute or two before the suggested bake time and use natural, creamy peanut butter for best results.
Can I freeze these cookies?
Yes! Freeze cooled cookies in a sealed container for up to 3 months. Thaw at room temperature before serving for best texture and flavor.
What gluten-free flour works best for peanut butter cookies?
This recipe doesn’t use flour, but if you want to experiment, Bob’s Red Mill 1-to-1 gluten-free flour is my favorite for even texture. King Arthur GF and Cup4Cup are also excellent choices.
I hope these simple peanut butter cookies bring a little extra joy and ease to your gluten-free kitchen like they have to ours. Baking doesn’t have to be complicated—especially when you’ve got a recipe that’s quick, reliable, and kid-approved. Our boys love helping out, and it’s such a fun way to teach them about cooking safely for food allergies. If you try these cookies, I’d love to hear how they turn out for your family. And don’t forget to explore more delicious, tested gluten-free recipes here on LetsGoGlutenFree.com or use our /is-it-gluten-free/ checker any time you want to double-check an ingredient. Happy baking!
We’d love to hear how it turned out! Leave a comment and a star rating below — your feedback helps other readers and means the world to us.
Rate This Recipe
Did you make this? We'd love to hear how it turned out!