

Desserts
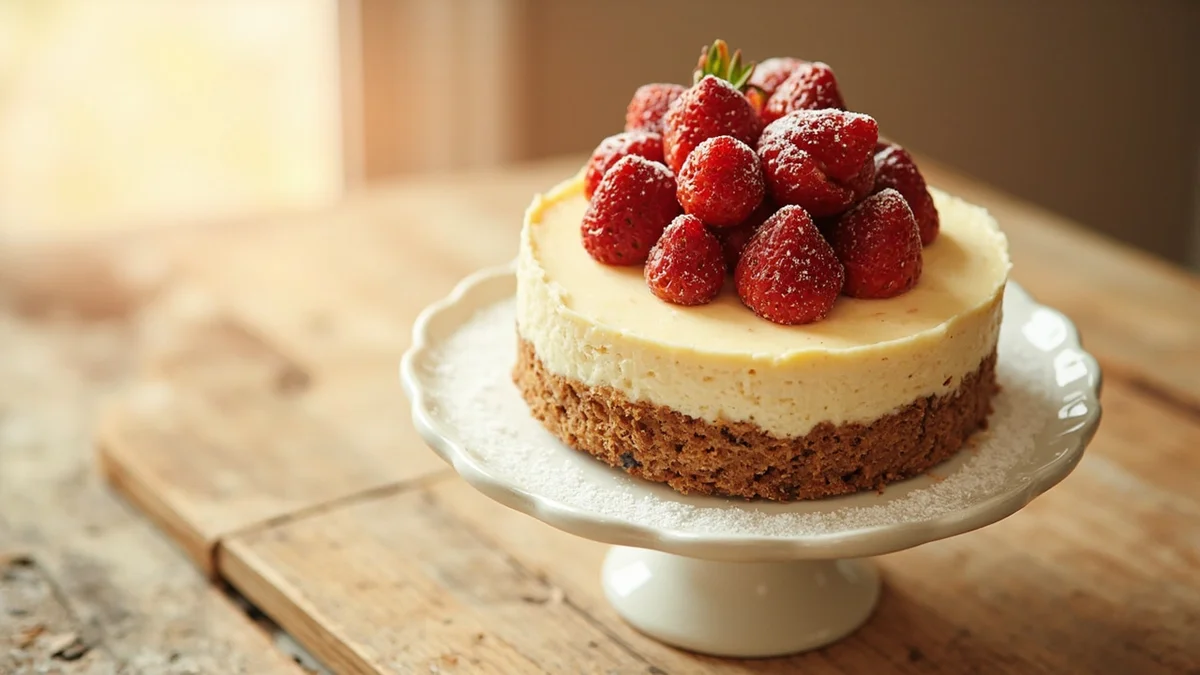
Gluten-Free Cheesecake
A baked cream-cheese filling over a gluten-free crumb crust.
- Prep
- 25 min
- Cook
- 1 hr 10 min
- Rest
- 4 hr
- Total
- 5 hr 35 min
- Makes
- 1 cheesecake (9-inch)
Times and servings are estimates.
Let’s Get Cooking
Ingredients
For 1 cheesecake (9-inch)
You’ll Need
- 9-inch springform pan
- Parchment paper
- Medium bowl
- Large bowl
- Electric mixer
- Wire rack
- Instant-read food thermometer
Method
Preheat and Prep
Preheat your oven to 325°F (163°C). Grease a 9-inch springform pan with butter or non-stick spray, then line the bottom with parchment paper for easy removal.
Make the Crust
In a medium bowl, combine the gluten-free graham cracker crumbs, the quarter-cup of sugar, and melted butter. Stir until the mixture resembles wet sand. Press the crumbs evenly into the bottom of the prepared pan, pressing firmly to create a compact crust.
Bake the Crust
Bake the crust for 10 minutes until set and slightly golden. Remove from the oven and let it cool while you prepare the filling.
Prepare the Filling
In a large bowl, beat the softened cream cheese with an electric mixer on medium speed until smooth and creamy, about 2-3 minutes. Gradually add the one cup of sugar for the filling and continue beating until well combined.
Add Wet Ingredients
Mix in the sour cream, eggs (one at a time), vanilla extract, lemon juice, and salt. Beat on low speed just until combined — avoid overmixing to prevent cracks.
Bake the Cheesecake
Pour the filling over the cooled crust. Bake for 55-60 minutes, until the edges are set, the center is just set with a slight wobble when you gently shake the pan, and the center reaches 160°F on a food thermometer. To reduce cracking, turn off the oven and leave the cheesecake inside with the door propped open for 30 minutes.
Cool and Chill
Move the cheesecake to a rack to finish cooling. Refrigerate within two hours of leaving the oven (one hour if the room is above 90°F); do not leave it out indefinitely to cool completely. Chill for at least four hours before serving.
Serve
Run a knife around the edges before releasing the springform pan sides. Slice with a sharp knife dipped in hot water for clean cuts. Serve plain or topped with fresh berries or your favorite gluten-free fruit sauce.
A Little Extra Guidance
Recipe Notes
Ingredient checks, storage, and food handling guidance.
Before You Cook
Allow several hours, including a ten-minute crust bake, the filling bake, cooling and at least four hours of refrigeration. Measure the quarter-cup of sugar for the crust separately from the one cup for the filling.
Choosing Gluten-Free Ingredients
Check the exact products you buy, especially flour, oats, bread, pasta, sauces and broth. Gluten-free labeling and third-party certification are different. A recipe page or scanner cannot guarantee a dish’s preparation. Use clean equipment and protect ingredients from contact with gluten-containing foods. Gluten-free does not mean free of dairy, eggs, nuts or other allergens. See the FDA guide to gluten-free labels.
Food Handling and Leftovers
Use a food thermometer and the safe cooking temperature chart. Refrigerate perishable food within two hours, or one hour above 90°F, in shallow containers as appropriate. Keep the refrigerator at 40°F or below. Use refrigerated cooked leftovers within 3–4 days; reheat cooked leftovers to 165°F. See USDA leftover guidance.
Browse the gluten-free recipe collection.
Storage and Leftovers
Keep cheesecake covered in the refrigerator and use within 3 to 4 days. Don't leave it out for more than 2 hours, including serving time.
Rate This Recipe
Did you make this? We'd love to hear how it turned out!