

Dinner
Gluten-Free Stuffed Peppers
Bell peppers filled with ground meat, cooked grain, tomato sauce and a cheese topping.
Expected yield: 4 servings
Yield and timings are not yet confirmed.
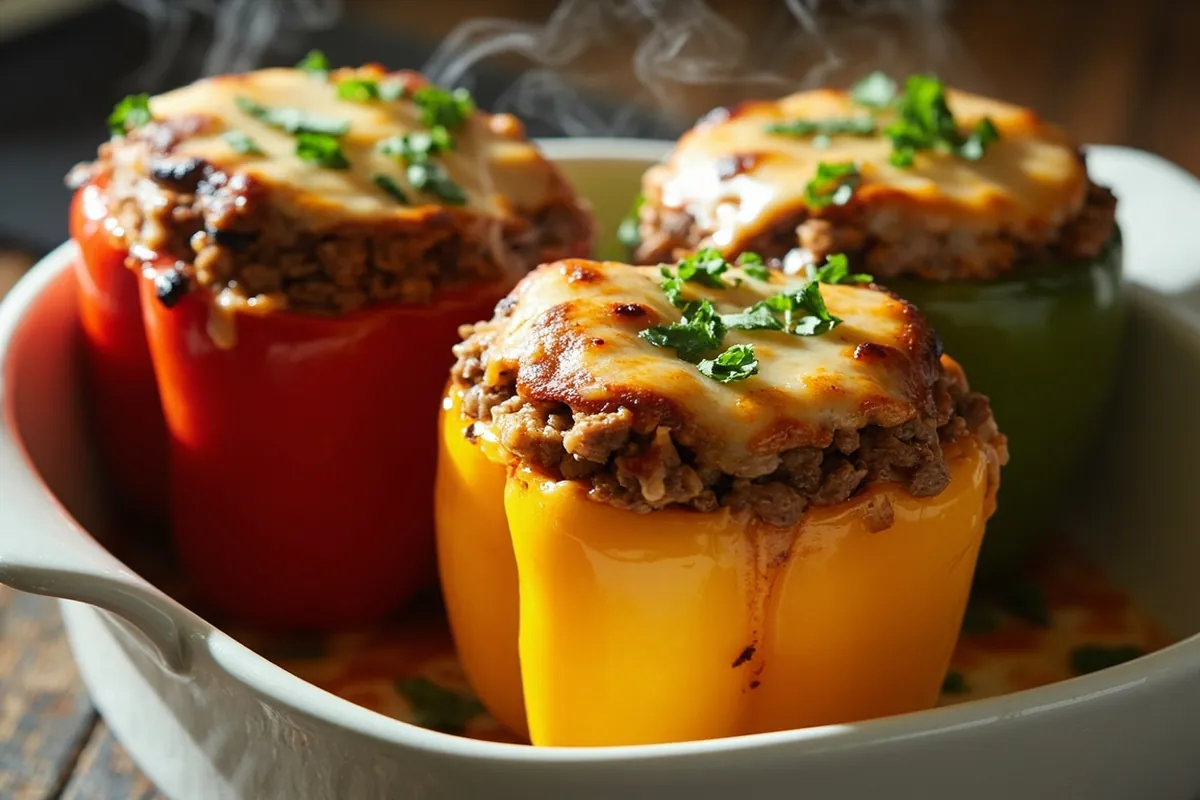
Let’s Get Cooking
Ingredients
For 4 servings (expected)
Method
Preheat and Prep
Preheat your oven to 375°F (190°C). Slice the tops off the bell peppers and remove the seeds and membranes. Lightly brush the peppers with olive oil and place them cut-side up in a baking dish.
Cook the Filling
Heat olive oil in a skillet over medium heat. Add the chopped onion and cook until translucent, about 3-4 minutes. Add the minced garlic and cook for another minute.
Brown the Meat
Add the ground beef or turkey to the skillet. Break it apart and cook until no longer pink, about 6-8 minutes. Drain any excess fat if needed. Check with a food thermometer: ground beef 160°F; ground turkey 165°F.
Season and Thicken
Sprinkle in the garlic powder, onion powder, salt, and pepper. Stir in the gluten-free tomato sauce and cooked quinoa or rice. Sprinkle the gluten-free flour over the mixture and stir well to combine and thicken slightly. Cook for 2-3 minutes more.
Stuff the Peppers
Spoon the filling evenly into each hollowed bell pepper, pressing down slightly so they’re well packed.
Bake
Cover the baking dish with foil and bake for 30 minutes. Remove the foil, sprinkle shredded mozzarella over the tops, and bake uncovered for another 10 minutes until the cheese is bubbly and golden. Check the center of the assembled filling reaches 165°F with a food thermometer. A toothpick or browned cheese does not establish a safe internal temperature.
Serve
Let the stuffed peppers cool for a few minutes before serving. Enjoy your all-in-one meal!
A Little Extra Guidance
Recipe Notes
Ingredient checks, serving ideas, and food handling guidance.
Before You Cook
The grain quantity below means cooked grain, not a cup of dry grain. Cook your chosen rice or quinoa according to its package before measuring one cooked cup; the amount and time needed depend on the grain. Choose one meat and grain combination. Check the sauce, flour blend and seasonings. The small flour addition and finished yield still need a documented kitchen test. Divide the listed oil between brushing the peppers and cooking the filling; do not use the full quantity twice.
Choosing Gluten-Free Ingredients
Check the exact products you use, including sauces, broth, flour and pasta. Gluten-free labeling and third-party certification are different. A recipe or scanner result cannot guarantee how a dish is prepared in your kitchen. Use clean equipment and protect food from contact with gluten-containing ingredients. See the FDA explanation of gluten-free labels.
Food Handling and Leftovers
Use a food thermometer rather than color alone. See the safe cooking temperature chart. Refrigerate perishable leftovers promptly in shallow containers, within two hours, or one hour above 90°F. Keep the refrigerator at 40°F or below; use refrigerated cooked leftovers within 3–4 days and reheat to 165°F. These are general handling guidelines, not a claim that we have tested this recipe’s leftover texture. See USDA leftover guidance.
Browse more gluten-free recipes, or use the label scanner as a reading aid alongside the current package and manufacturer information.
Kitchen-Testing Status
Kitchen-testing note: A documented cooking test is pending. Recipe timings and yields have not yet been confirmed in our current testing log. Nutrition figures and unsupported historical rating totals have been removed.
Rate This Recipe
Did you make this? We'd love to hear how it turned out!